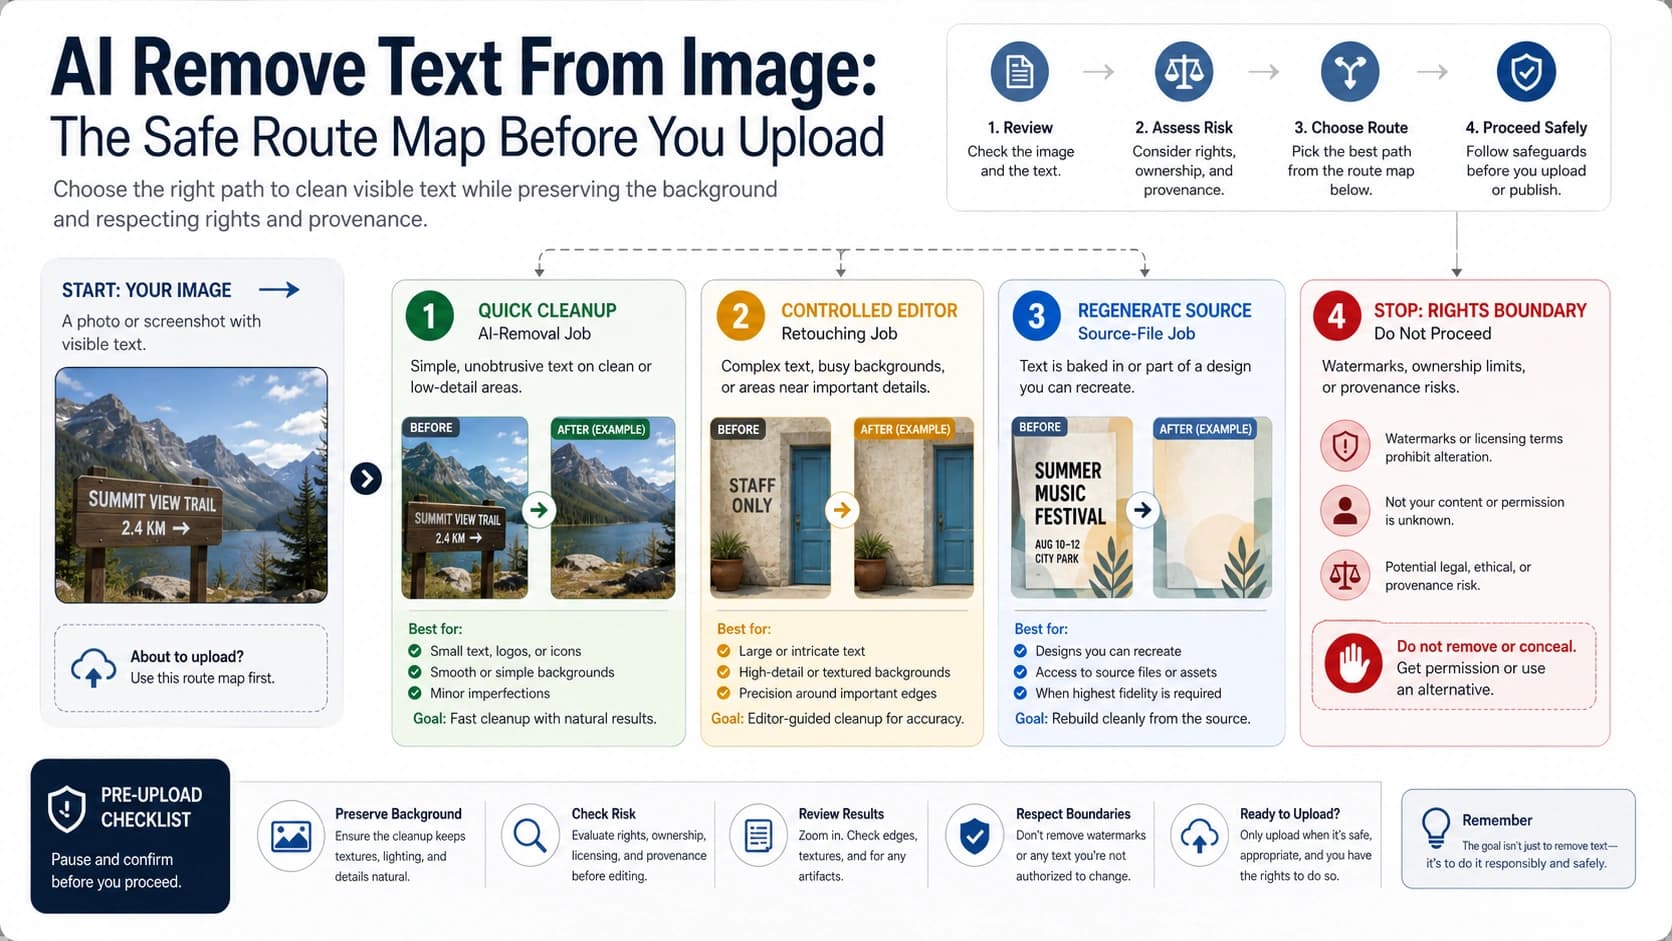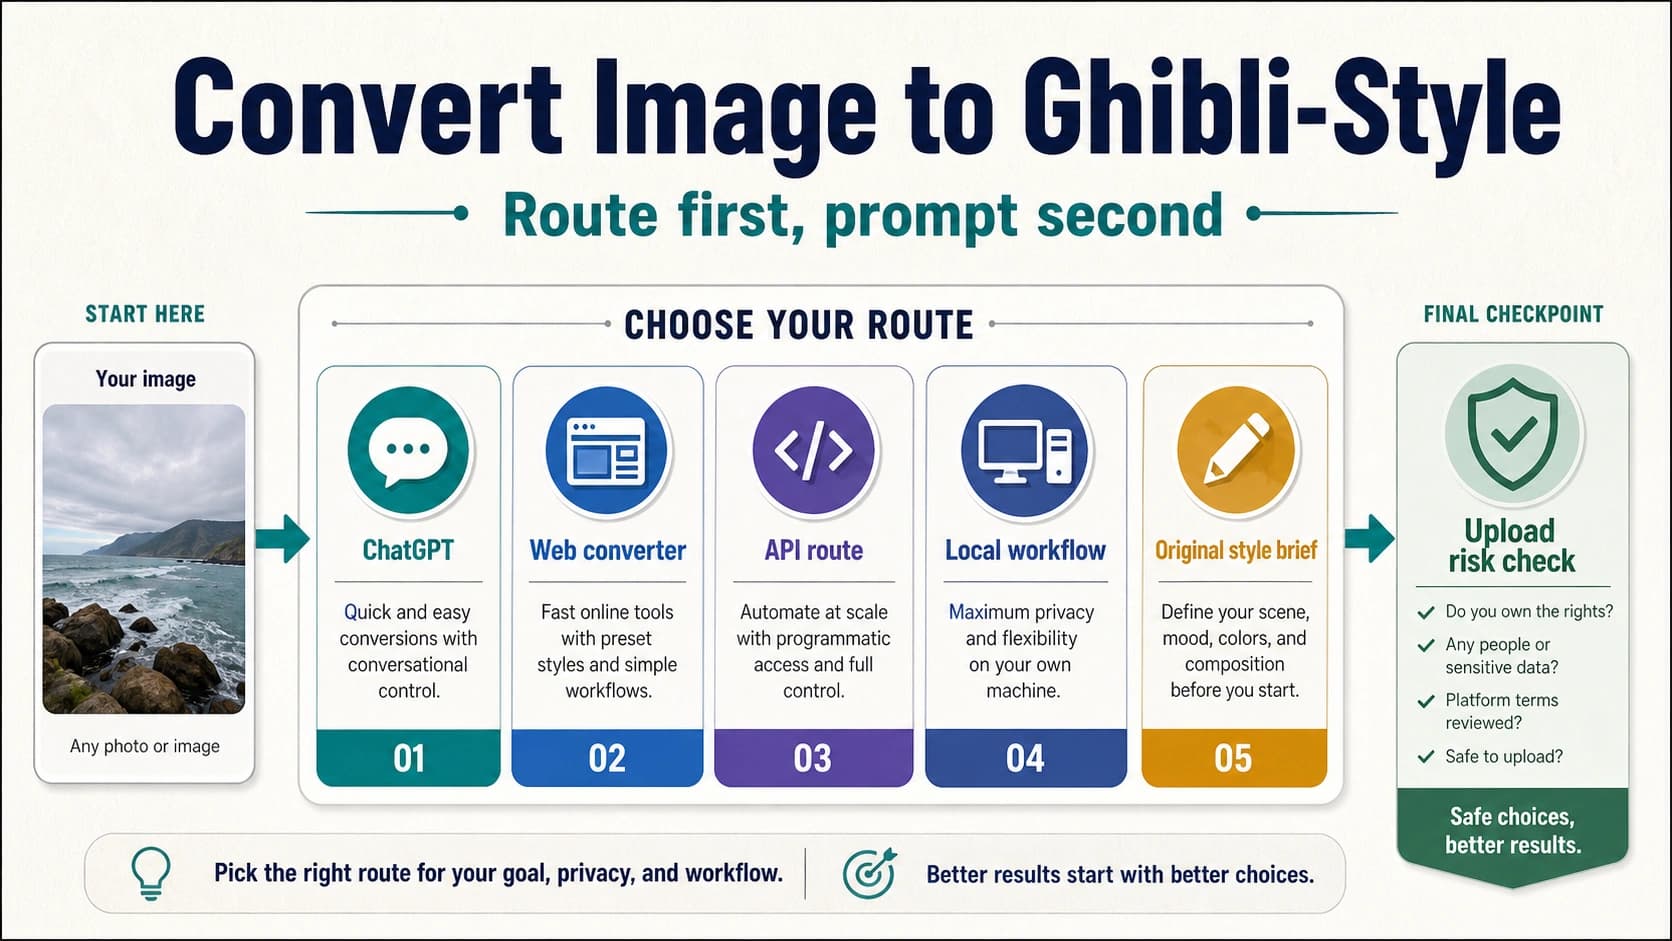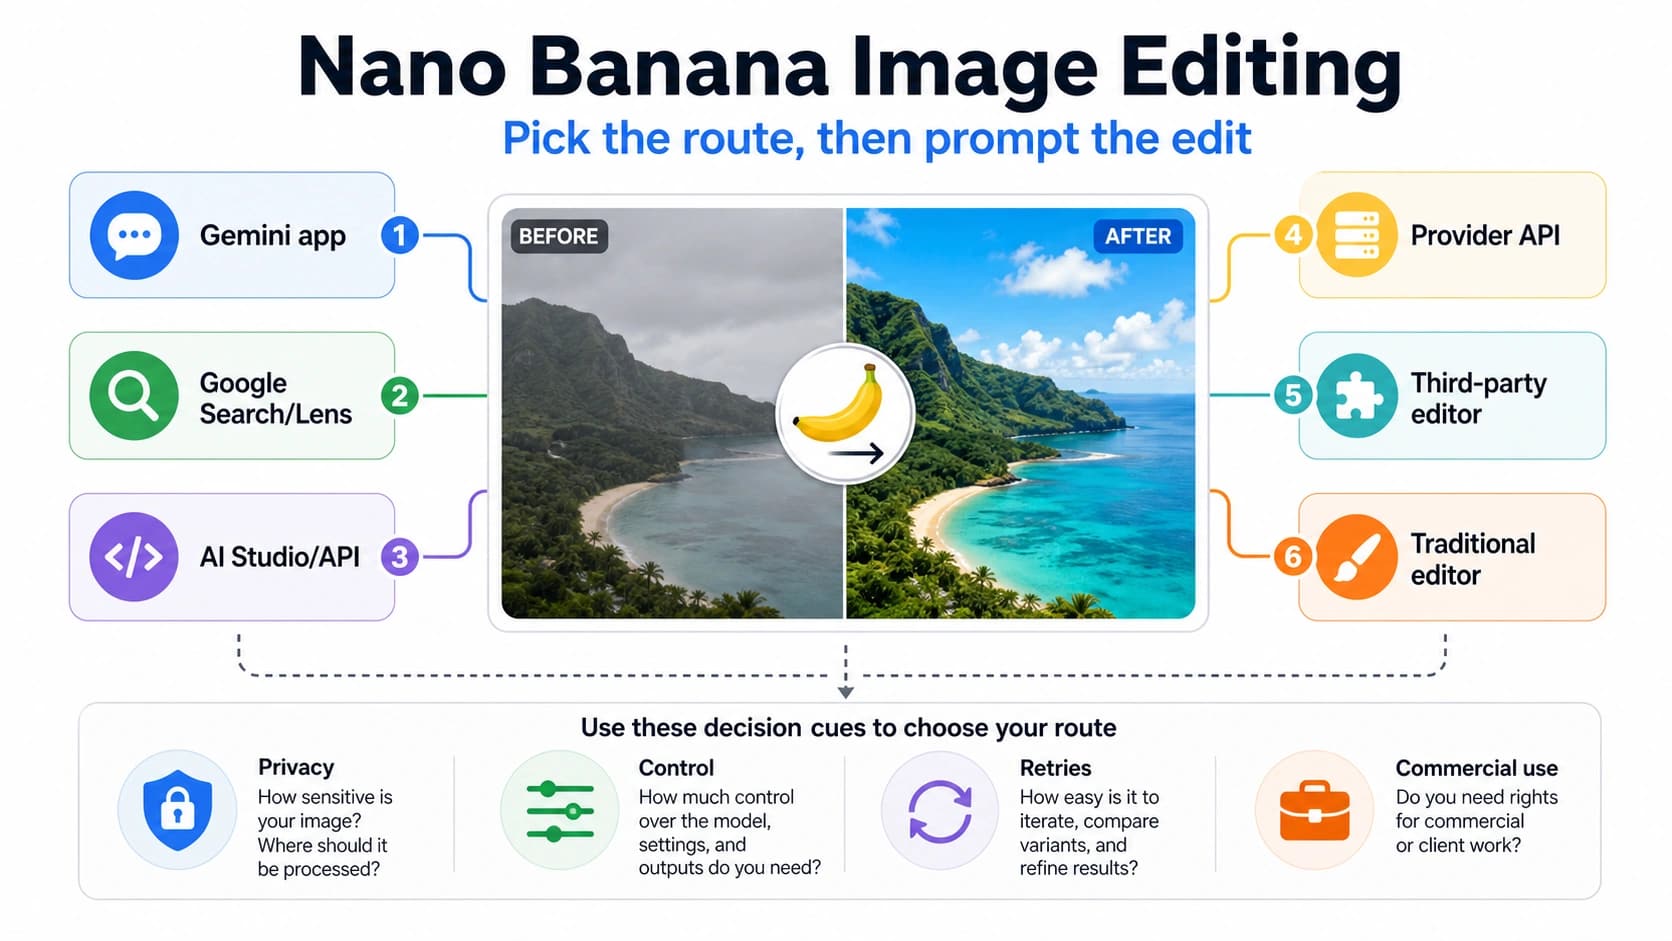
The image is already right: the composition works, the character looks consistent, and the lighting feels finished. Only the headline is misspelled. Asking an image model to “fix the text and change nothing else” sounds precise, but it is not a preservation guarantee. Many image edits are still regenerations, so a corrected word can arrive with a different face, altered product geometry, softer texture, or a shifted crop.
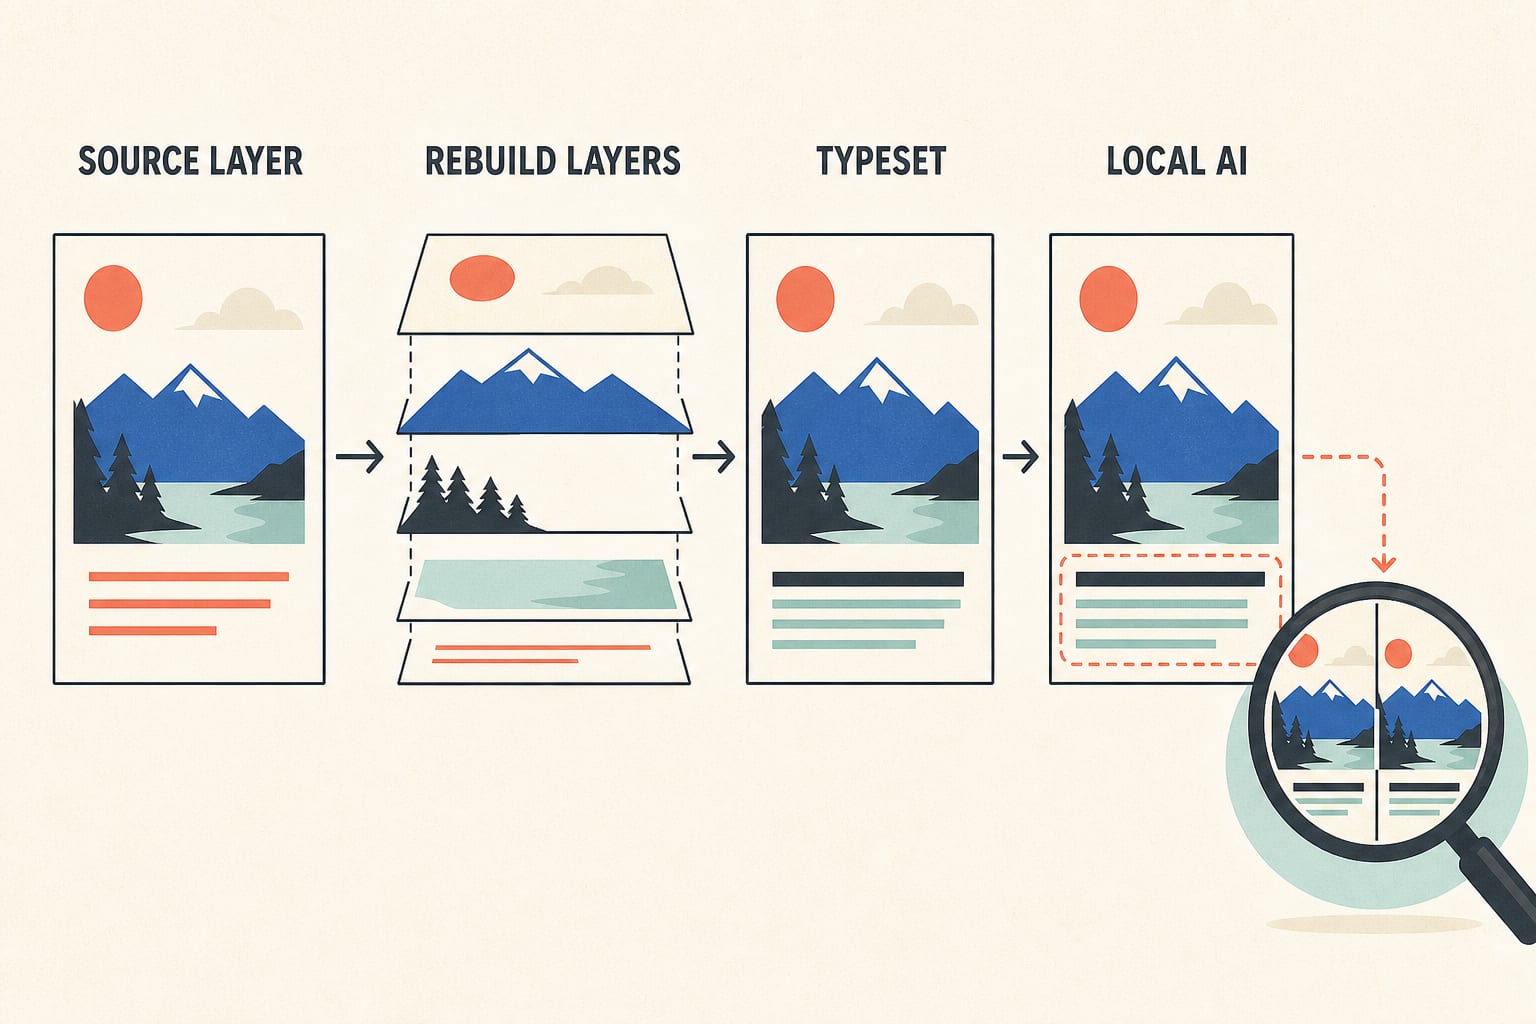
Use this order instead: edit the original text layer if it exists; reconstruct editable layers if the source is lost; remove the bad glyphs and typeset real text; use a constrained image edit only when the lettering is low-risk and a small variation is acceptable. Then compare the result at full size and at its actual delivery size.
Define “do not change the design” before editing
Write the exact replacement copy first. Include capitalization, punctuation, prices, dates, units, and line breaks. Next, record the properties that must stay fixed:
- pixel dimensions and aspect ratio;
- crop, camera angle, and subject position;
- background texture, lighting, and color;
- type position, scale, tracking, leading, alignment, effects, and perspective;
- every logo, icon, face, product edge, and other text region.
This turns a vague request into an acceptance test. If a non-target element moves, the edit failed even when the new word is spelled correctly.
Route 1: edit the source design
For a poster, ad, thumbnail, product card, presentation, or UI image, the source file is the safest route. Open the Figma, Canva, PSD, Illustrator, Keynote, PowerPoint, HTML, or app source; replace the copy in its real text layer; and export again.
Longer replacement copy may need a deliberate line break or spacing adjustment. Do not silently shrink the type until it no longer matches the hierarchy. Check the font license, especially when the image will be used commercially or localized for another market.
Before export, duplicate the approved version. After export, overlay the old and new images or blink between them. Outside the text area, the composition should remain stable. Business-critical strings such as names, dates, prices, offer terms, and units deserve a second-person proofread.
Route 2: reconstruct editable layers from a flat image
If all you have is a PNG or JPEG, a design-reconstruction workflow can sometimes recover text, shapes, and layout as editable elements. This is often better than repeatedly painting over the same line. Canva describes a Grab Text-style image text workflow, while Codia describes converting embedded words and layout into editable layers. These are vendor claims about their own routes, not proof that every font or composition will be reconstructed perfectly.
Start with the cleanest original, not a screenshot forwarded through several chat apps. Convert one image and inspect the recovered structure before changing copy:
- Verify the OCR result character by character.
- Compare font weight, width, size, tracking, leading, and alignment.
- Check whether shadows, outlines, gradients, and nearby shapes stayed separate.
- Replace one critical line and export a proof.
- Compare icons, faces, products, and background edges with the original.
If the lettering becomes dozens of fragments, the font is heavily illustrated, or text crosses a textured object, manual rebuilding will usually be faster and more reliable.
Route 3: clean the background, then typeset real text
This is the most dependable fallback when the source is unavailable. Work on a copy. Remove the old letters, including outlines, shadows, glow, and antialiased edges, using a repair, clone, or tightly masked generative-fill tool. Then create a normal editable text layer for the replacement.
The mask should be large enough to remove every trace of the old glyphs but small enough to protect the surrounding design. Flat color, sky, paper, and simple walls are easier. Gradients, fabric, hair, reflections, repeated patterns, and product contours need close review. Inspect the cleared area for ghost letters, rectangular patches, broken edges, and repeated texture before adding new type.
Match the typography systematically:
| Property | What to compare |
|---|---|
| Typeface | classification, width, weight, distinctive letterforms |
| Layout | baseline, alignment, line breaks, tracking, leading |
| Appearance | fill, outline, shadow, blur, opacity |
| Geometry | rotation, arc, skew, perspective |
| Context | margin, hierarchy, contrast, relationship to nearby elements |
If the original font cannot be identified, choose a legally usable close match and disclose the approximation. For brand work, approval matters more than claiming a fictional “exact match.”
Route 4: use a constrained AI edit for low-risk lettering
A localized AI edit can be reasonable for concept art, a small background sign, or decorative text where minor variation is acceptable. Select the smallest useful region and state both the change and the protected elements:
Replace only the selected headline with “SUMMER MARKET.” Preserve the exact canvas size, crop, subject, background, lighting, color palette, layout, and all other text. Add nothing.
Change one region per pass. Return to the original after a failed attempt instead of editing an already degraded result. Stop after two attempts if the model alters a face, logo, product, border, texture, or unselected text. The task has crossed from fast correction into controlled compositing.
Adobe’s current AI markup workflow illustrates the useful principle: mark the region and describe the change. A selection narrows the edit, but it still does not prove that every unselected pixel will remain identical.
Use a five-minute acceptance test
Check the final file in this order:
- Copy: verify spelling, names, punctuation, capitalization, dates, prices, and units against the approved string.
- Full resolution: inspect glyph edges, old-text residue, cloned texture, shadows, and perspective.
- Delivery size: view the social card, thumbnail, web banner, or print proof at its real size.
- Difference check: overlay the before and after images at partial opacity or blink between them. Any movement outside the target area needs an explanation.
- Export contract: confirm dimensions, aspect ratio, crop, color mode, format, and compression.
Keep the untouched original, an editable working file, and the final export. If a reviewer finds a problem, you can return to a controlled layer instead of repairing a compressed derivative.
Know when not to upload or alter the image
Do not casually upload IDs, contracts, invoices, medical or financial records, customer screenshots, unreleased products, or private faces to a public editor whose storage and retention rules you have not reviewed.
Watermarks, creator signatures, copyright notices, provenance labels, and authenticity markers are not ordinary typos. Obtain a licensed clean source or permission instead of erasing them. Do not modify receipts, official documents, evidence screenshots, certificates, signatures, or identity materials to change what they say.
FAQ
Can a prompt guarantee that only the text changes?
No. A preservation-first prompt helps, and a tight selection reduces scope, but the output still needs comparison. Exact copy belongs in an editable text layer whenever possible.
What if I cannot find the original font?
Compare weight, width, letter shapes, spacing, and effects, then use a licensed close match. For brand work, have the design owner approve the substitution.
Why does the whole image change when I edit one word?
Many image systems regenerate pixels rather than modifying a text object. If a tight region still causes drift, stop retrying and rebuild the type.
Should I use an online AI text editor?
It can be useful for a low-risk test image. Treat privacy, retention, export quality, font fidelity, and “design preserved” statements as route-specific claims that must be checked before client work.
Can Yingtu AI make this exact correction?
The current public interface exposes a prompt and optional reference images, but that does not establish masking, editable layers, or exact text-replacement behavior. It may be used for a bounded comparison with a non-sensitive sample, not assumed to be a precision typesetting editor.
The durable rule is simple: the more important the words are, the less they should depend on generated pixels.